INTRODUCTION:
PrintPro is a modern, fully responsive website template tailored for printing service businesses. Whether you're building a site for a small print shop or a large printing agency, this template provides everything you need to create a professional and engaging online presence. With customizable sections across various pages, you can easily manage your content and present your services in a clean and organized manner.
FEATURES:
- Fully responsive design for mobile, tablet, and desktop devices
- Modern and clean layout ideal for printing service companies
- Pre-designed pages for services, pricing, testimonials, gallery, and more
- Easy-to-edit sections that allow quick updates for content
- Working contact form to get in touch with potential clients
- Simple integration with your business, allowing for easy customization
- Live demo available for preview before implementation
JAVASCRIPTS:
- MAIN.JS: Handles all dynamic features, including form submissions and interactive printing service booking.
CSS FILES:
- STYLE.CSS: The main stylesheet controlling layout and visual appearance.
- BOOTSTRAP.MIN.CSS: A responsive CSS file for ensuring cross-device compatibility.
How to Use:
1. Extract the ZIP folder named *PrintPro*. Inside, you'll find an 'assets' folder, which contains an 'img' folder. Inside the 'img' folder, there are several subfolders:
2. **Gallery Folder**: Replace demo images in the gallery with ones representing your printing services or replace it with your work to showcase your past work.
3. **About Folder**: Replace the placeholder image in the 'about' folder with one that fits the theme of your business.
4. **Logo**: Replace it with your desired logo, as per your choice.
5. **Hero Image**: Replace the placeholder hero image with a custom image of your choice.
6. **Contact**: Replace the favicon in the placeholder image in the contact folder with an image of your choice
7. **Testimonails Folder**: Replace demo images in the testimonials with your client images as per your choice.
8. **Contact, About, Gallery, and Testimonials Images**: These images should be square, with an aspect ratio of **1:1** (for example, 500x500px, 800x800px). Aditionally Square images maintain a balanced and uniform appearance across all sections.
9. Once you’ve replaced the images, ensure that the image paths are correctly referenced in the HTML files. If you change the file format (e.g., from PNG to JPG), you’ll need to adjust the file extensions in the code accordingly.
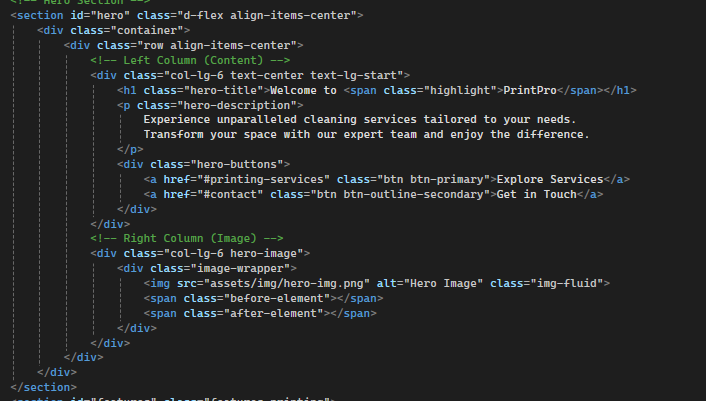
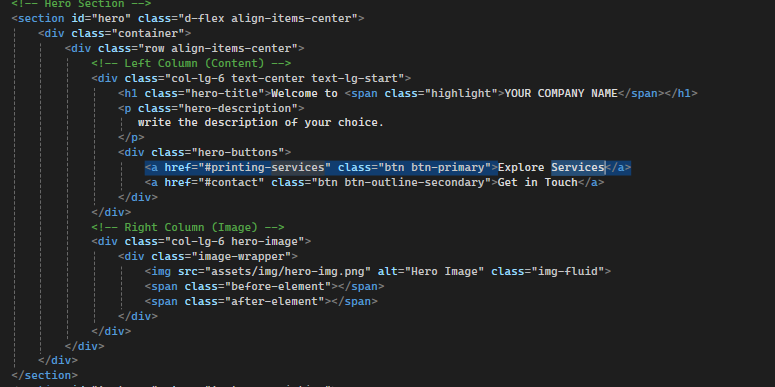
How to update hero section:
To update the Hero section:
- Locate the Hero section in your HTML, which includes the image and introductory text.
- Update the main title and subtitle within the
<h1>and<p>tags to reflect your business message. - Ensure the content is aligned with your business and the image complements the theme of your brand.
CLICK ON THE IMAGE FOR FULL VIEW
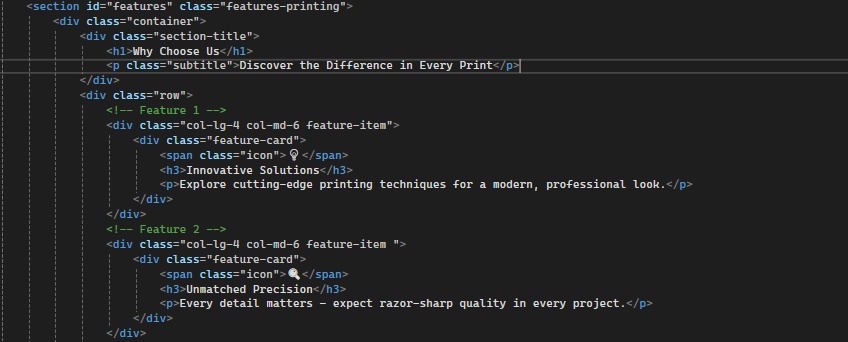
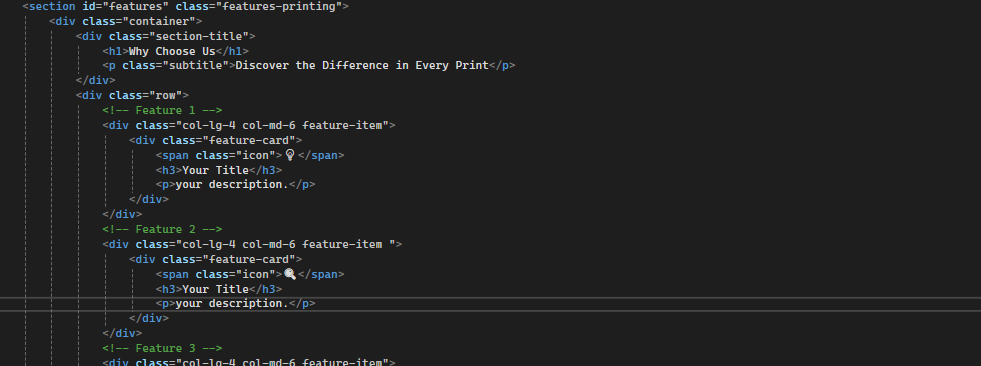
How to update features (why-choose-us) section:
To update the Features section:
- Identify the features you want to highlight by locating the
<div>for each feature item. - Update the title, and description for each feature by modifying the,
<h3>, and<p>tags. - If you want to add new features, copy the structure of an existing
<div>and adjust the content. - Ensure consistency in design elements, such as the font style and icon size.
CLICK ON THE IMAGE FOR FULL VIEW
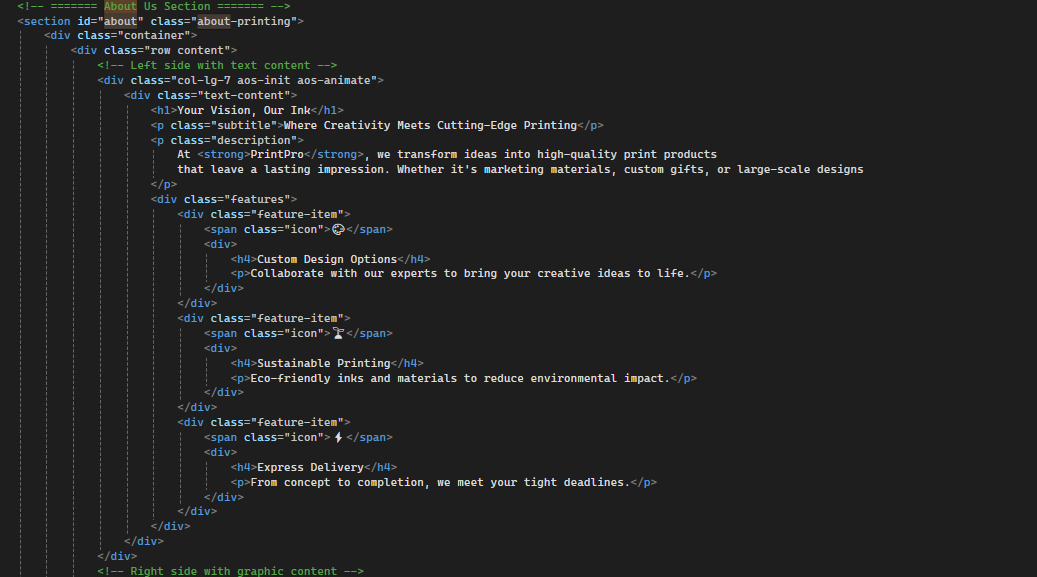
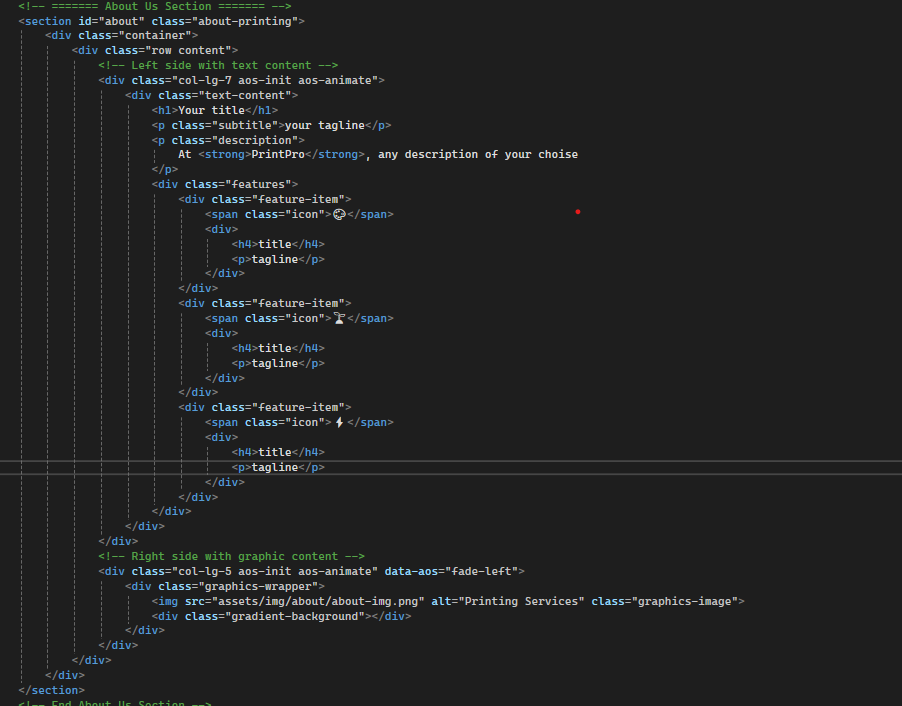
How to update about section:
To update the About section:
-
Navigate to the About section in the HTML and update the heading and description text. This section is located in:
- The `index.html` file for a short intro on your homepage.
- The `about.html` file located in the `pages` folder,where the same structure is used and you can provide either same or different overview of your company.
- Keep the language clear, concise, and focused on your brand’s mission, values, and story.
CLICK ON THE IMAGE FOR FULL VIEW
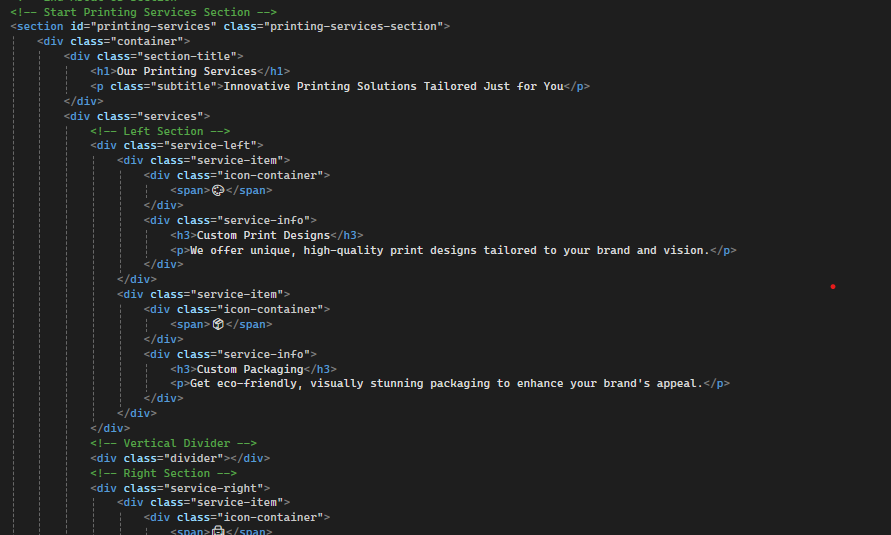
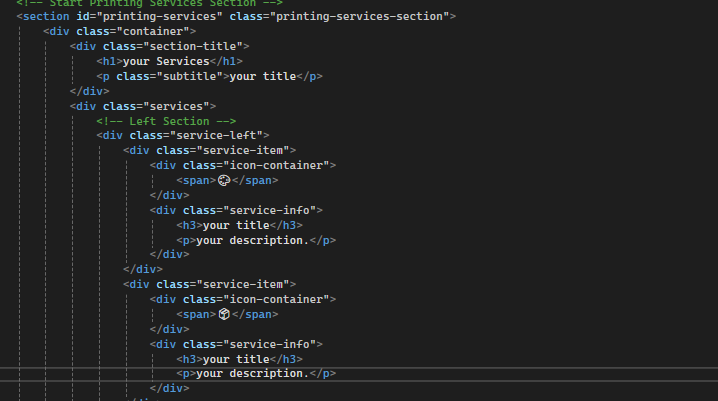
How to update services section:
To update the Services section:
-
Locate the section in the HTML where your services are listed. This can be found in two places:
- In the `index.html` file, which contains the main landing page services section.
- In the `service.html` file located in the
pagesfolder, which contains the Services page where you can add same or different information.
- Update the service titles in the
<h3>tags to reflect the services you offer. - Update the descriptions in the
<p>tags to provide a brief overview of each service. - For new services, simply copy the structure of an existing service and modify the content.
CLICK ON THE IMAGE FOR FULL VIEW
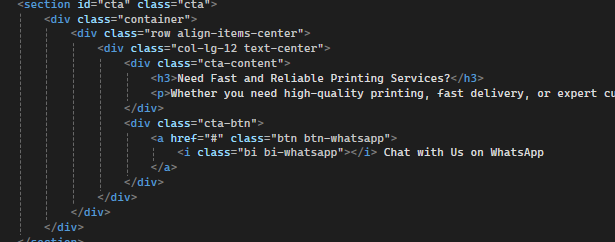
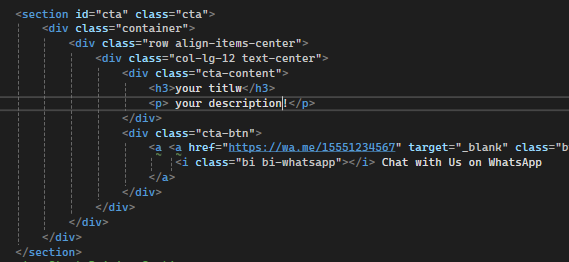
How to update CTA section:
To update the Call-to-Action (CTA) section:
- Edit the heading to reflect the offer or call to action.
- Modify the description to align with the message you want to convey to the users.
- Update the WhatsApp button URL to direct users to the correct chat link.
CLICK ON THE IMAGE FOR FULL VIEW
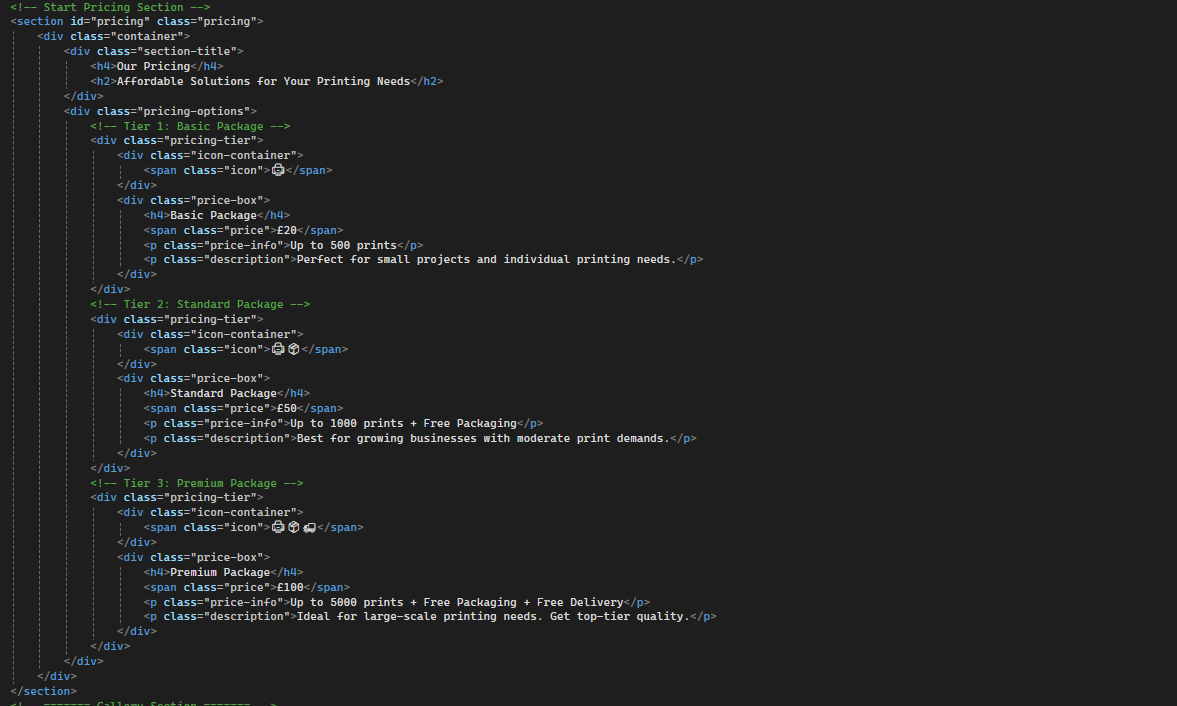
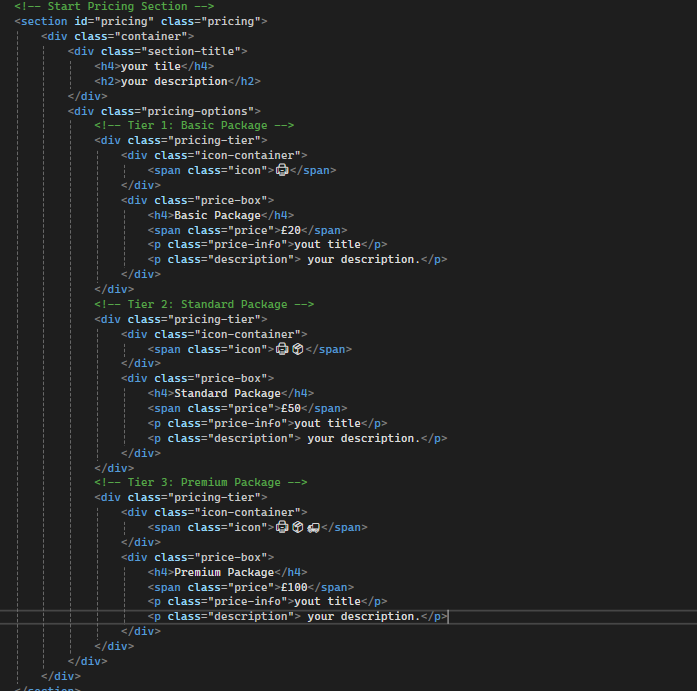
How to update Pricing section:
To update the Pricing section:
-
Update the section title and descriptions to reflect your service packages. This can be done in:
- The `index.html` file, where the Pricing section is included on the homepage.
- The `pricing.html` file in the `pages` folder, which uses the same structure to display your pricing details across the site.
- Modify the prices in the
<span>tags, ensuring they match your updated pricing structure. - If you want to add new pricing plans, simply copy the structure of an existing
<div>block for each plan and modify the content.
CLICK ON THE IMAGE FOR FULL VIEW
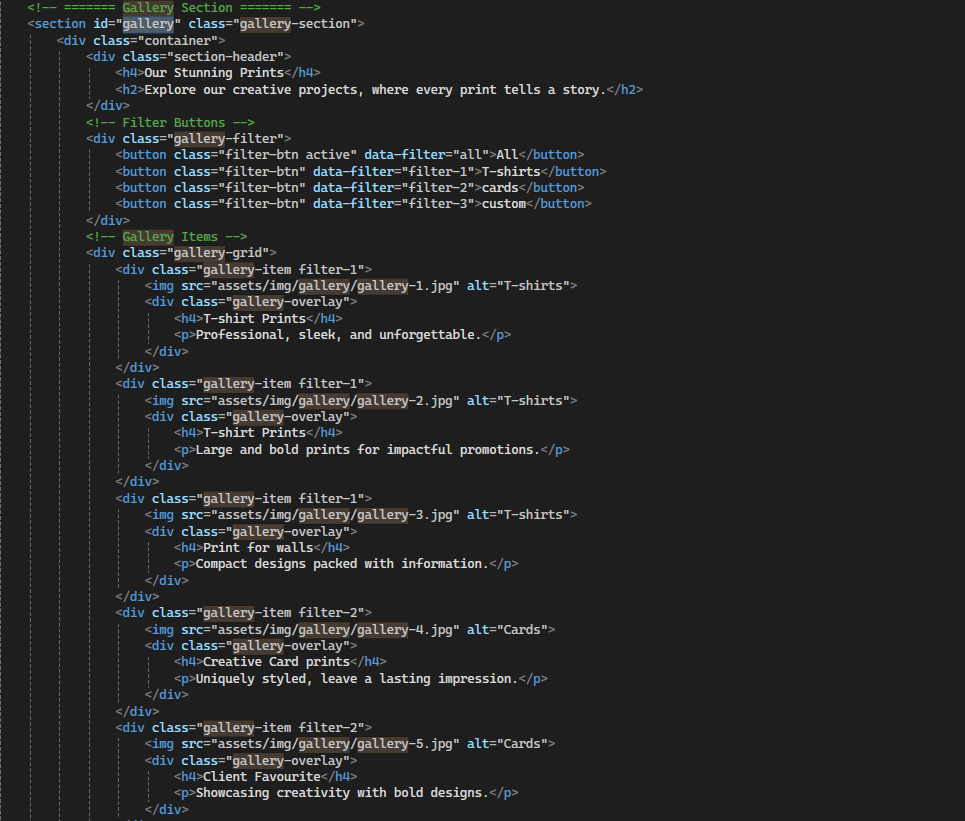
How to update Gallery section:
To update the Gallery section:
-
Update the section title to reflect the type of prints displayed in your gallery. This can be done in:
- The `index.html` file if the gallery section appears on the homepage.
- The `gallery.html` file in the `pages` folder, which replicates the gallery structure across the site.
- Modify the gallery images to showcase your actual prints by replacing the
<img>tags with the appropriate URLs for your images. - Update the descriptions in the gallery overlay to briefly explain each image, which can be done in the
<p>tags next to the images. - Adjust the filter options if you want to categorize the gallery items differently or add new filters.
CLICK ON THE IMAGE FOR FULL VIEW
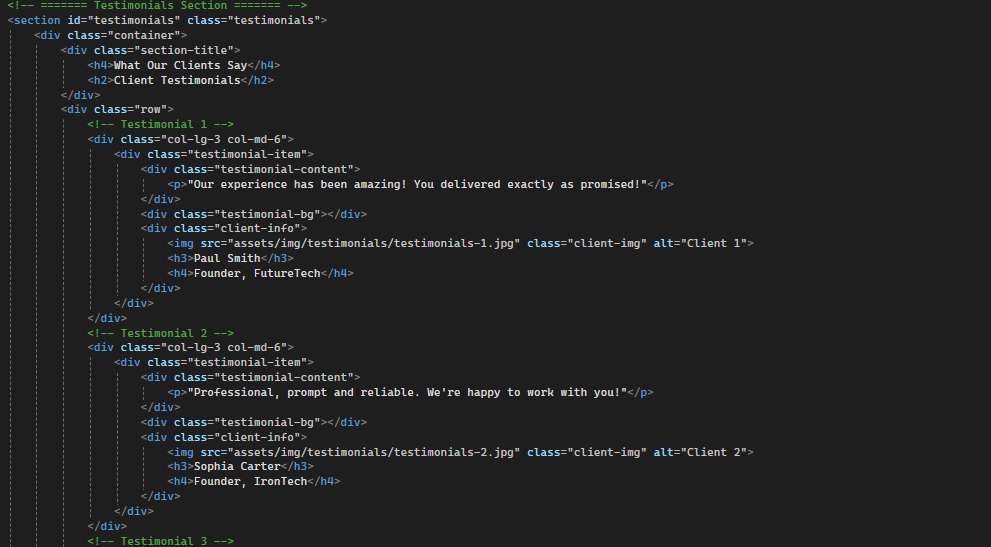
How to update Testimonials section:
To update the Testimonials section:
-
Replace the testimonial text to reflect your clients' feedback. You can find this section in:
- The `index.html` file if the Testimonials section appears on the homepage.
- The `testimonials.html` file in the `pages` folder, which uses the same structure to display the testimonials across the site.
- Update the client names and their positions or companies in the
<h3>and<h4>tags to reflect accurate information.
CLICK ON THE IMAGE FOR FULL VIEW
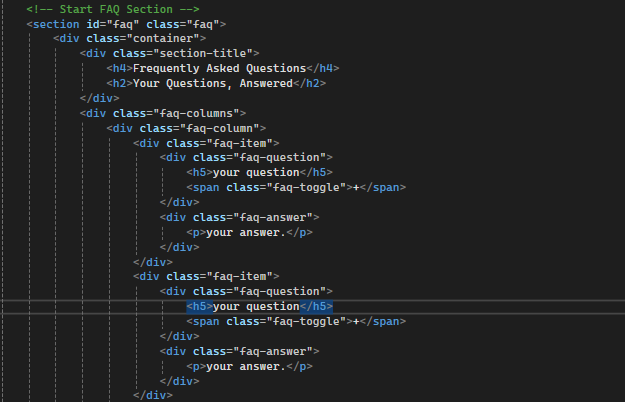
How to update FAQ section:
To update the FAQ section:
-
Update the section title to reflect your FAQs. This title can be edited in:
- The `index.html` file for the homepage FAQ section.
- For other pages, like `about.html`, `pricing.html`, `testimonials.html`, `services.html`, and `gallery.html`, the FAQ section follows the same structure and can be modified similarly.
After locating the appropriate file, follow these steps:
-
Modify the questions and answers to match your services or business. You can either:
- Write your own questions and answers based on the queries your customers may have, or
- Choose to add different questions as per your business needs.
CLICK ON THE IMAGE FOR FULL VIEW

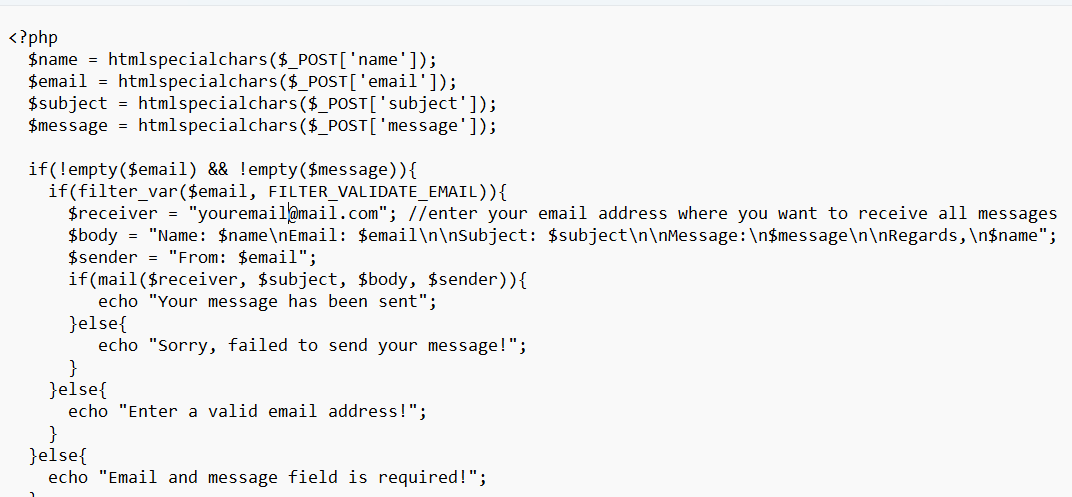
How to update Contact Us section:
To update the Contact Us section:
- Inside the contact form folder there is a mesage.php file modify the email with your respective email address
CLICK ON THE IMAGE FOR FULL VIEW

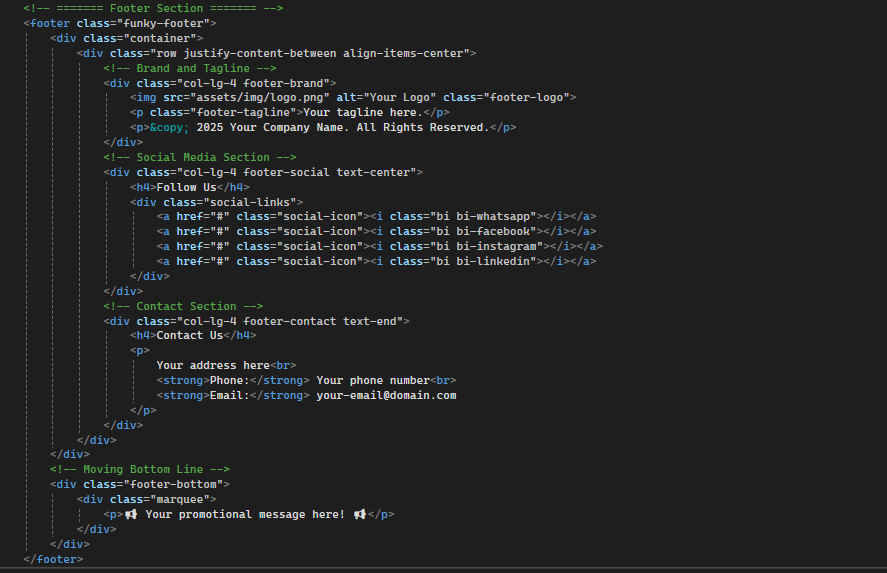
How to update Footer section:
To update the Footer section:
- Modify the footer's tagline .
- Update the social media links in the footer with the correct URLs.
- Ensure that the contact details in the footer (phone number, email, address) are correct.
- Ensure the footer design aligns with your website's branding
CLICK ON THE IMAGE FOR FULL VIEW

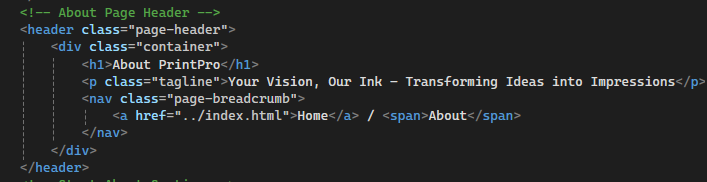
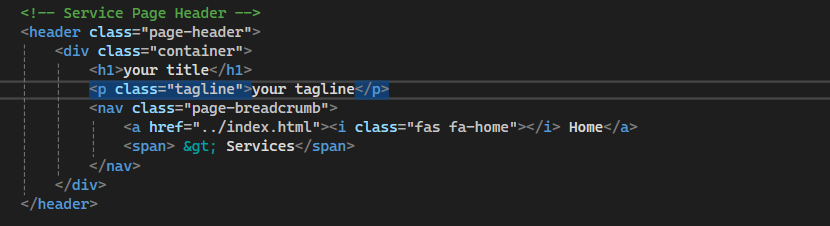
How to Update 'Page Header' Section:
To update the "Page Header" section:
-
The page header is present on all the main pages, such as
about.html,pricing.html,testimonials.html,services.html, andcontact.html. -
Each page follows the same header structure, which includes:
- The main title, which is in the
<h1>tag (e.g., "Our Services"). - The tagline or description, which is in the
<p class="tagline">tag (e.g., "Expert Tax Advisory to Maximize Your Financial Benefits").
- The main title, which is in the
-
To modify the page header:
- Update the main title by editing the text inside the
<h1>tag to reflect the relevant page title. - Update the tagline inside the
<p class="tagline">to provide a relevant description for that page.
- Update the main title by editing the text inside the
CLICK ON THE IMAGE FOR FULL VIEW
Upload your final product
once you have modified the necessary information and the images you can upload your final product or launch your website on the platform of your preference